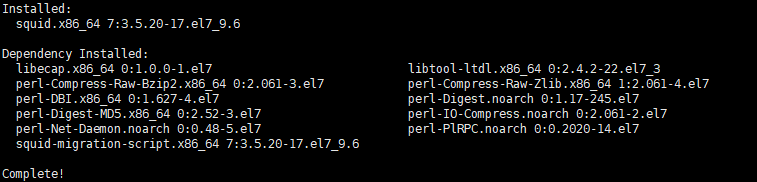
[root@Q1nghuan ~]# systemctl status squid
● squid.service - Squid caching proxy
   Loaded: loaded (/usr/lib/systemd/system/squid.service; enabled; vendor preset: disabled)
   Active: active (running) since Thu 2021-12-02 19:00:34 CST; 40s ago
 Main PID: 29411 (squid)
   CGroup: /system.slice/squid.service
           ├─29411 /usr/sbin/squid -f /etc/squid/squid.conf
           ├─29413 (squid-1) -f /etc/squid/squid.conf
           └─29414 (logfile-daemon) /var/log/squid/access.log

Dec 02 19:00:34 Q1nghuan systemd[1]: Starting Squid caching proxy...
Dec 02 19:00:34 Q1nghuan squid[29411]: Squid Parent: will start 1 kids
Dec 02 19:00:34 Q1nghuan squid[29411]: Squid Parent: (squid-1) process 29413 started
Dec 02 19:00:34 Q1nghuan systemd[1]: Started Squid caching proxy.
Dec 02 21:05:46 Q1nghuan systemd[1]: Starting Squid caching proxy... Dec 02 21:05:46 Q1nghuan squid[26763]: Squid Parent: will start 1 kids Dec 02 21:05:46 Q1nghuan squid[26763]: Squid Parent: (squid-1) process 26765 started Dec 02 21:05:46 Q1nghuan systemd[1]: Started Squid caching proxy.
# ANONYMOUS PROXY
forwarded_for off
request_header_access Allow allow all
request_header_access Authorization allow all
request_header_access WWW-Authenticate allow all
request_header_access Proxy-Authorization allow all
request_header_access Proxy-Authenticate allow all
request_header_access Cache-Control allow all
request_header_access Content-Encoding allow all
request_header_access Content-Length allow all
request_header_access Content-Type allow all
request_header_access Date allow all
request_header_access Expires allow all
request_header_access Host allow all
request_header_access If-Modified-Since allow all
request_header_access Last-Modified allow all
request_header_access Location allow all
request_header_access Pragma allow all
request_header_access Accept allow all
request_header_access Accept-Charset allow all
request_header_access Accept-Encoding allow all
request_header_access Accept-Language allow all
request_header_access Content-Language allow all
request_header_access Mime-Version allow all
request_header_access Retry-After allow all
request_header_access Title allow all
request_header_access Connection allow all
request_header_access Proxy-Connection allow all
request_header_access User-Agent allow all
request_header_access Cookie allow all
request_header_access All deny all

request_header_access Via deny all
request_header_access Forwarded-For deny all
request_header_access X-Forwarded-For deny all